
Published: · Reviewed by Koray Korkut, Fire Department Director
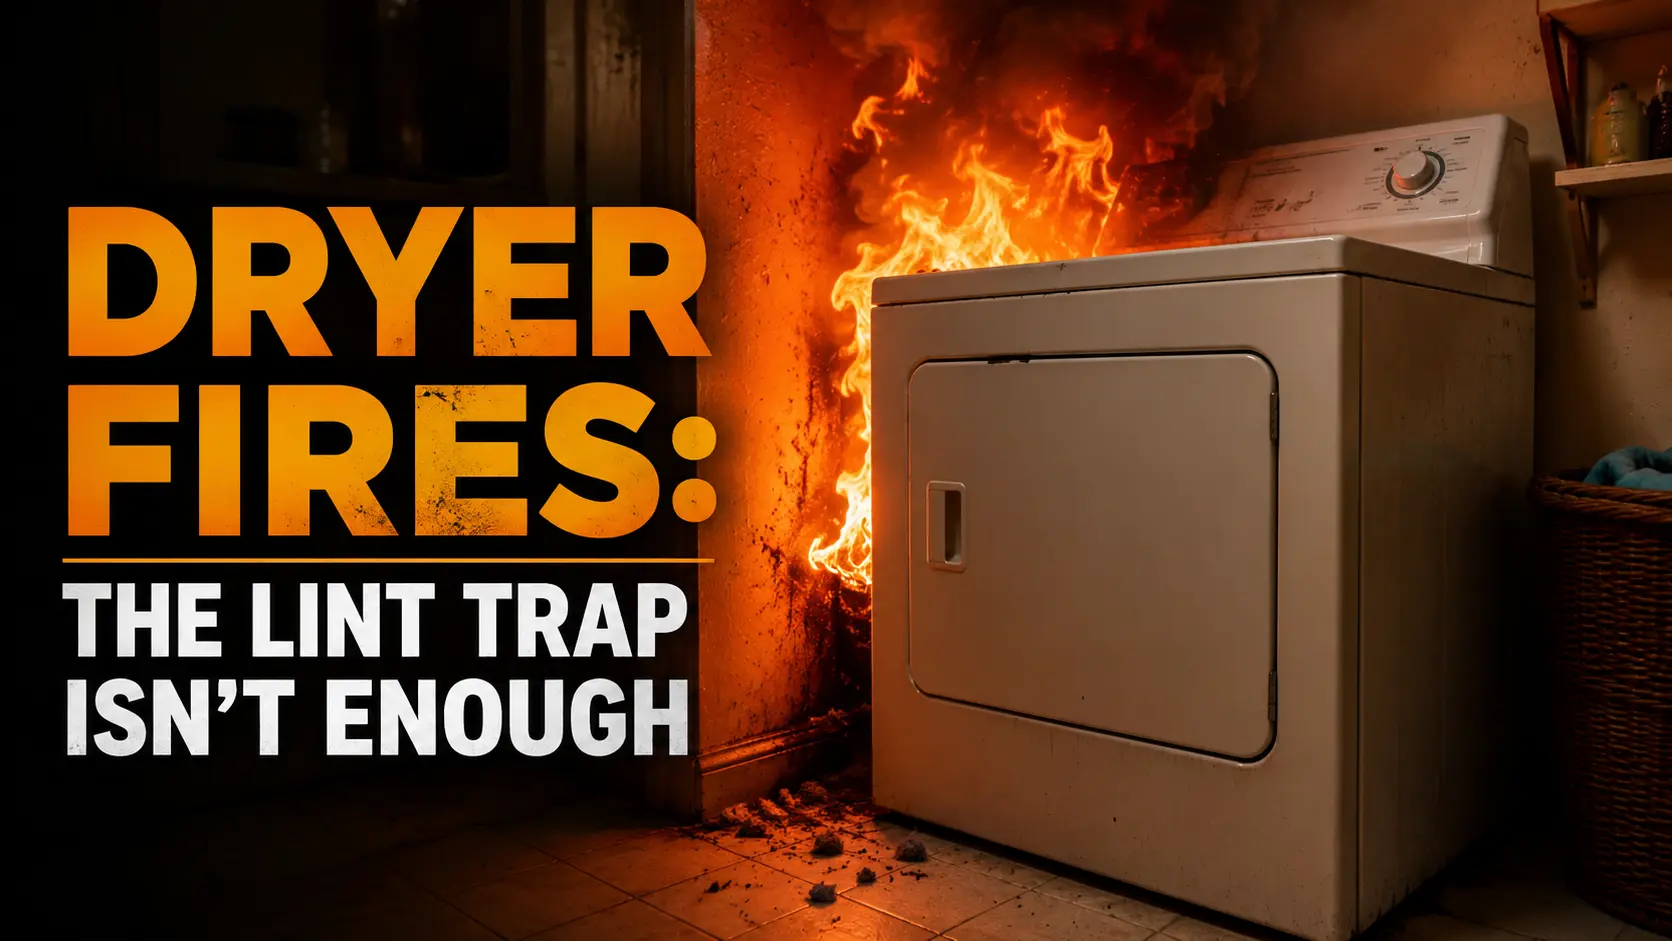
Ask most people how to prevent a dryer fire and they will tell you to clean the lint trap. They are not wrong, but they are describing maybe 20% of the actual prevention. The other 80% is a duct they have probably never cleaned, running behind their dryer, through the wall, and out the side of their house. That duct is where dryer fires actually start. And most of the time, the home has given clear warning signs for months before anything ignites — signs that people explain away as a slow dryer or an old machine.
I have walked through the aftermath of dryer fires. They are almost always the same story: a house that smelled a little hot for a while, clothes that took two cycles to dry, a vent the family did not know needed cleaning. All preventable. All missed.
In this article:
- How dryer fires actually start
- Warning signs your dryer is a fire risk right now
- The lint trap — what most people do wrong
- The vent duct — the real problem
- Vent duct types: which ones are dangerous
- How to clean the vent duct yourself
- When to call a professional
- Daily and monthly habits that prevent fires
- Things you should never put in a dryer
How Dryer Fires Actually Start
A dryer works by pulling air from the room, heating it, passing it through the rotating drum where your clothes are tumbling, and exhausting the hot, moisture-laden air — along with the lint that came off your clothes — through the vent duct and out the exterior of the house. This process works perfectly when the airflow is unrestricted. It becomes a fire hazard when the airflow is blocked.
Lint is extremely flammable. It is essentially fine dry fiber — the same material you would use if you were trying to start a campfire with a spark. When lint accumulates in the vent duct and the dryer heating element continues to operate, three things happen simultaneously: the heat inside the dryer cannot exhaust properly, the dryer runs hotter than designed, and the accumulated lint is exposed to that elevated heat. Given enough time and enough restriction, the lint ignites.
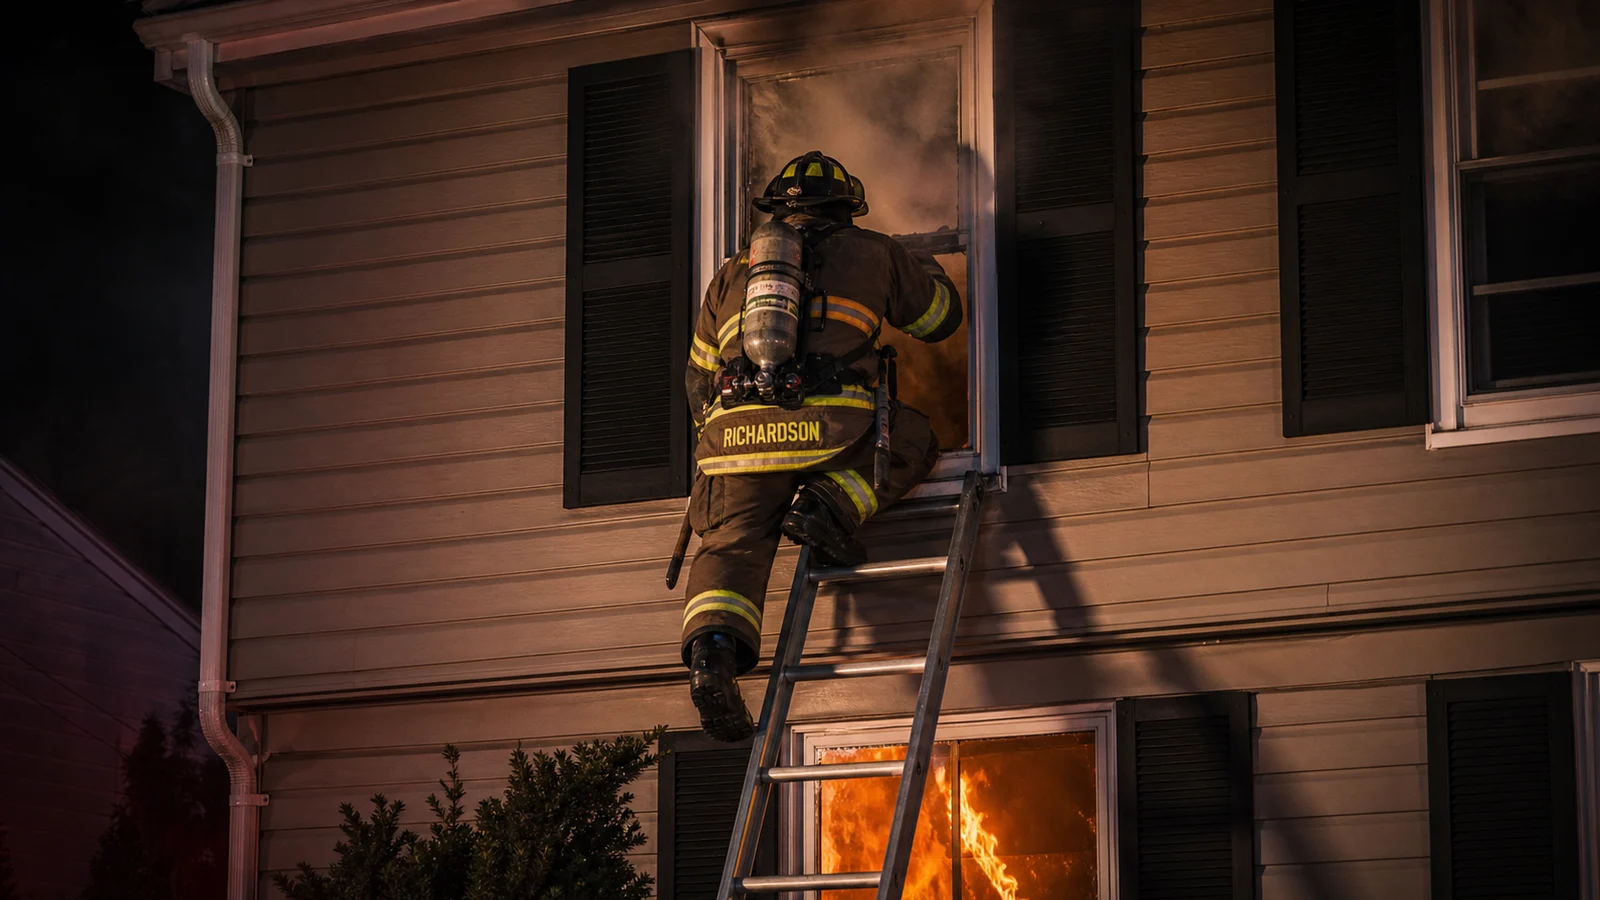
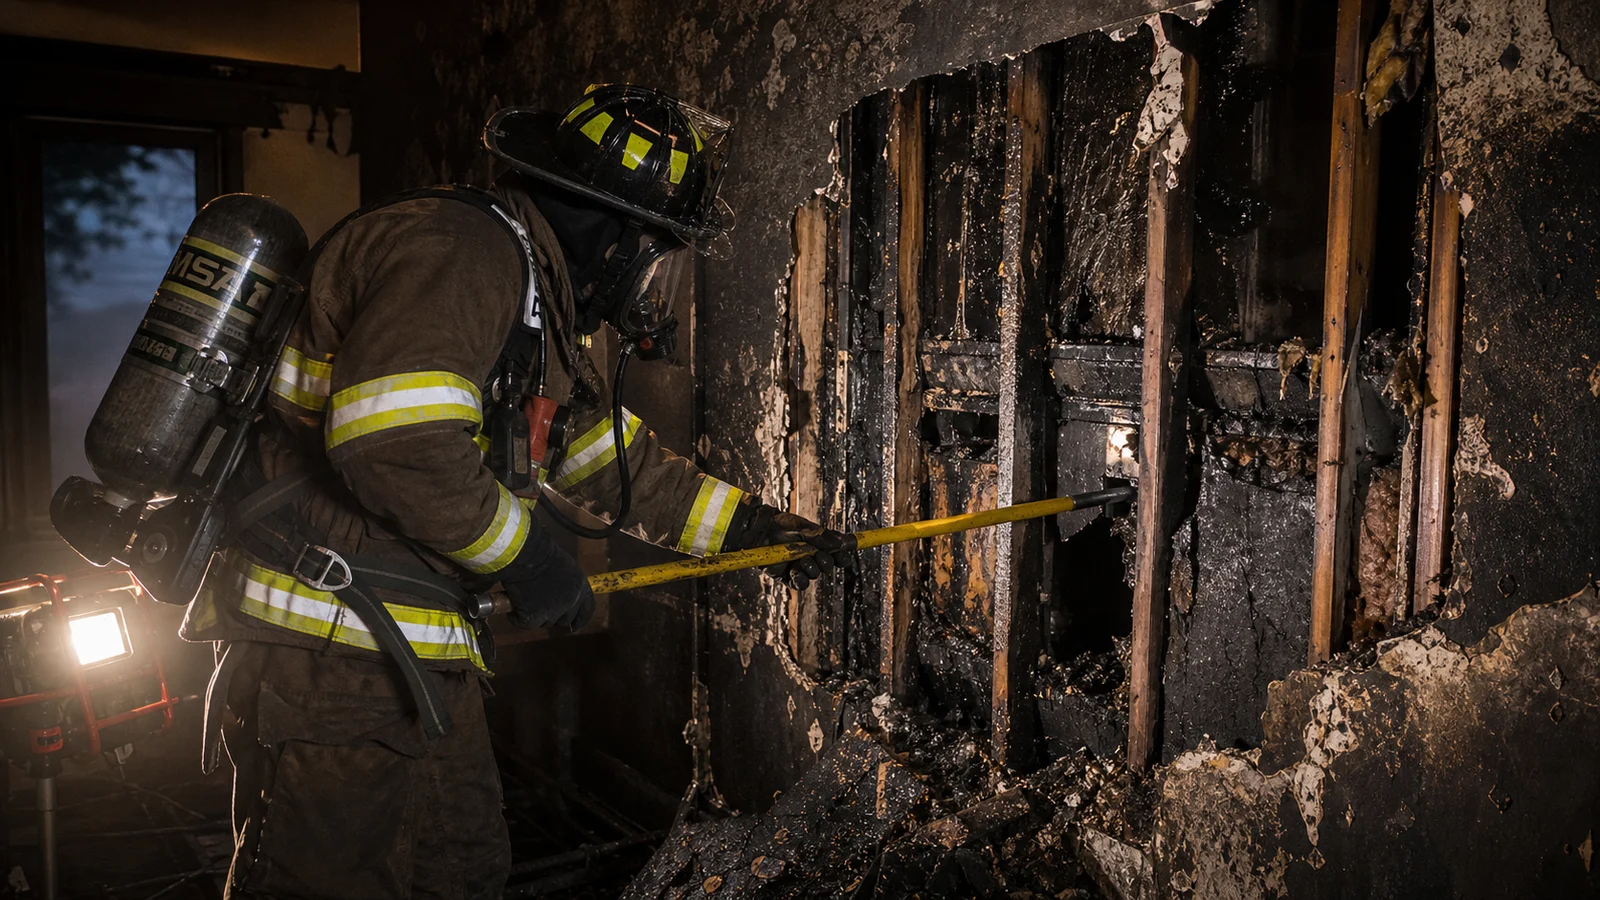
The fire typically starts inside the vent duct, not inside the drum. This is why people are caught off guard — the dryer looks normal on the outside right up until smoke appears. By the time you see smoke, the fire is already in the duct and often inside the wall.
The second most common cause is mechanical failure — a worn bearing, a damaged heating element, a thermostat that fails to cycle the heat off properly. But even mechanical failures are made dramatically more dangerous by accumulated lint. A dryer with a clean vent and a failing heating element may overheat. A dryer with a clogged vent and a failing heating element will likely catch fire.
Warning Signs Your Dryer Is a Fire Risk Right Now
Your dryer will tell you something is wrong before it catches fire. The problem is that the signs are easy to rationalize away as normal wear or a quirky appliance. They are not. These are the warning signs that mean you need to clean your vent duct today, not eventually.
- Clothes take more than one cycle to dry, or take longer than 45 minutes for a normal load. This is the most common early sign of a restricted vent. Restricted airflow means hot, humid air cannot exhaust efficiently, so the clothes stay damp. Most people assume the dryer is just getting old. Sometimes it is. More often, the vent is the problem.
- Clothes feel hotter than usual at the end of a cycle. If clothes come out uncomfortably hot to the touch — not just warm — the dryer is running hotter than it should. Restricted exhaust causes heat to build up inside the drum.
- The outside of the dryer is hot to the touch during operation. The dryer cabinet should be warm during use, not hot. A dryer that you cannot comfortably hold your hand against during a cycle is retaining heat it should be exhausting.
- A burning or hot smell coming from the dryer or laundry room. Not a warm laundry smell — a hot, slightly scorched smell. This is lint heating up in the duct. It is a warning. Stop the dryer and inspect the vent before using it again.
- The vent flap on the exterior of the house does not open when the dryer is running, or opens only slightly. Go outside while the dryer is running. The vent flap on the exterior wall should open and stay open with noticeable airflow coming out. If it barely moves, the duct is restricted.
- Excess lint on clothing or around the dryer. If lint is appearing on clothes after drying, or accumulating visibly around the dryer's exterior, the internal airflow is pushing lint backward instead of out through the vent.
- The laundry room feels unusually humid or warm during drying. If moisture is escaping into the room instead of out the vent, the exhaust path is compromised.
Any combination of two or more of these signs means you need to clean your dryer vent duct immediately — not at the end of the week, not next time it is convenient. A dryer showing these symptoms is operating under the conditions that precede most dryer fires. Stop using it until the duct is cleaned.
The Lint Trap: What Most People Do Wrong
Yes, clean the lint trap before every load. This is correct and important. But the lint trap intercepts only about 75–80% of the lint that comes off your clothing. The rest gets past the screen and into the duct. This is by design — the lint trap is not a perfect filter, it is a first-stage interception. The duct is supposed to handle the remainder. When the duct is not maintained, the remainder accumulates.
The other lint trap problem is the trap housing itself. When you pull out the lint screen and clean it, you are cleaning the screen. The channel the screen sits in — the lint trap housing — collects lint on its walls that the screen removal does not address. Over time, significant lint can accumulate in the trap housing below and around the screen. A vacuum with a narrow attachment run into the trap housing every month or two removes this buildup before it migrates into the duct.
A third issue is dryer sheets. Fabric softener sheets leave a residue on the lint screen that is invisible but real — it reduces the screen's airflow over time. Hold your lint screen under running water. If water beads up and does not pass through, the screen has residue buildup. Wash the screen with soap and a soft brush and let it dry completely before reinserting. Do this every few months.
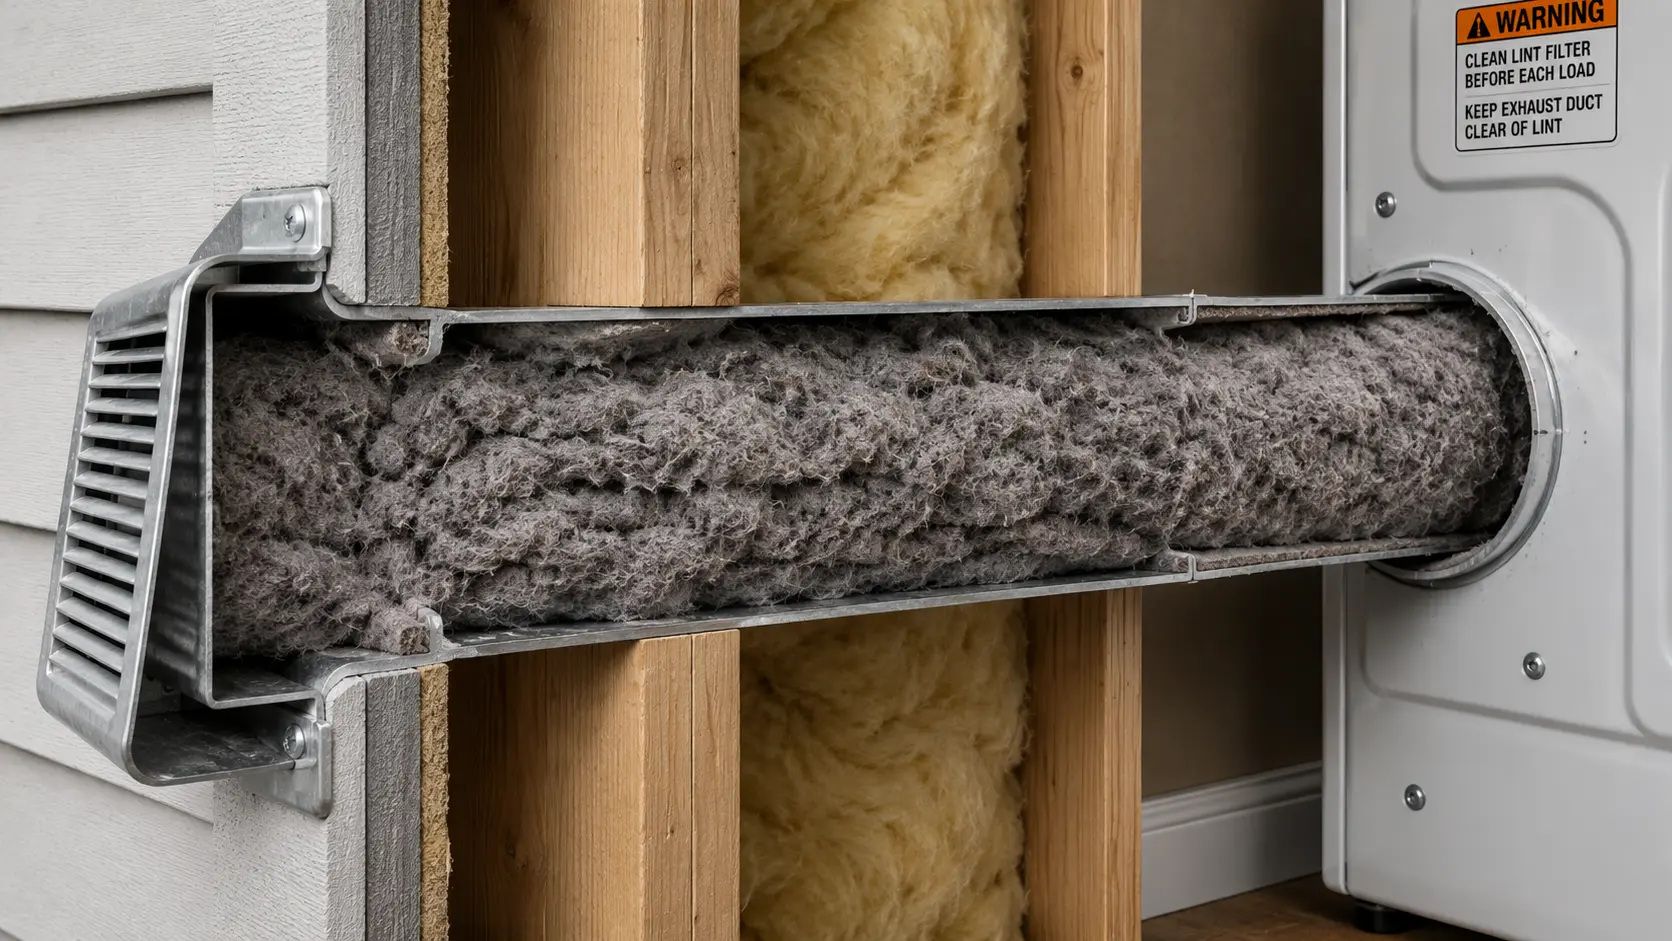
The Vent Duct: The Real Problem
The dryer vent duct is the flexible or rigid tube that connects the back of your dryer to the exterior vent cap on the outside of your home. It runs through the wall, possibly around corners, and can range from 2 feet to 20+ feet in length depending on how your laundry room is positioned in the house. Every foot of duct length, every bend, and every seam is a place where lint can accumulate.
Most homeowners have never looked at or thought about this duct. It is behind the dryer, usually not visible, and requires moving the appliance to access. This invisibility is the reason it becomes a fire hazard — out of sight means out of maintenance.
NFPA recommends cleaning the dryer vent duct at least once a year for typical household use. Families that do more laundry — larger households, cloth diapers, athletic wear that sheds fiber — should clean it every six months. Households with pets should also clean more frequently, as pet hair accelerates accumulation significantly.
Vent Duct Types: Which Ones Are Dangerous
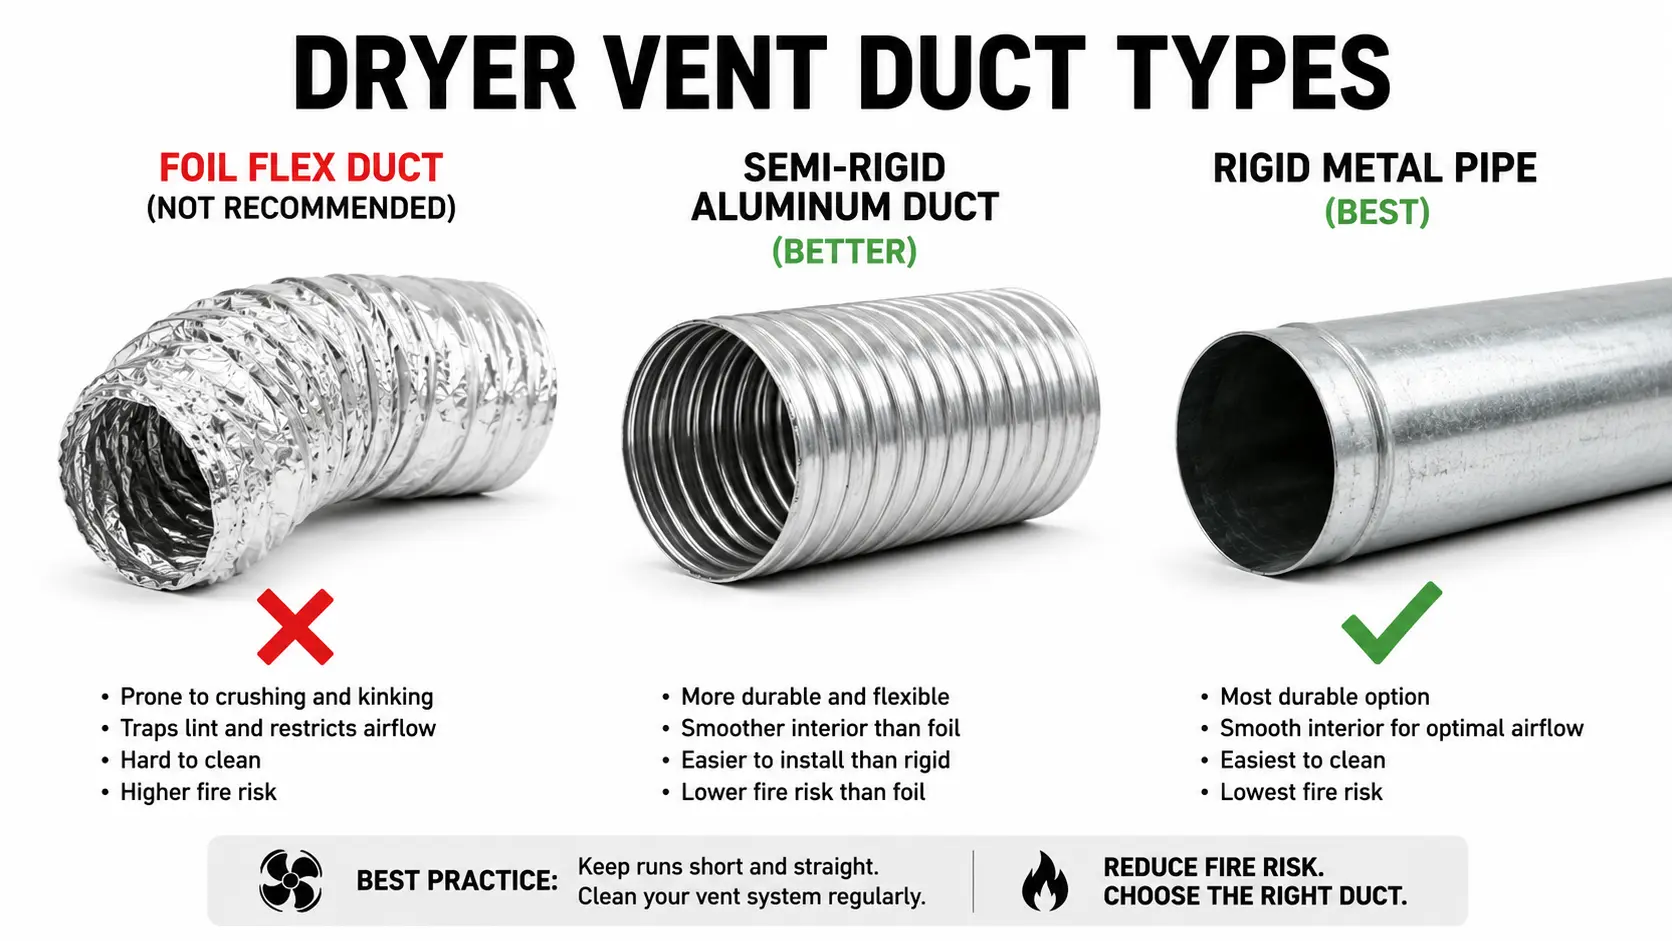
| Duct Type | Fire Risk | What To Do |
|---|---|---|
| Flexible foil (accordion) Shiny, ridged, very flexible | ❌ High — prohibited by many building codes | Replace immediately with rigid or semi-rigid metal duct. The accordion ridges trap enormous amounts of lint and are nearly impossible to clean effectively. The foil also compresses easily, reducing airflow and creating kinks that accelerate buildup. |
| Flexible plastic (white vinyl) White, corrugated, crushable | ❌ Very high — banned by most codes and all major appliance manufacturers | Replace immediately. Plastic ducts are flammable, crush easily, and are not rated for dryer exhaust. If you have this in your home, your dryer installation is not code-compliant. |
| Semi-rigid aluminum Shiny, somewhat flexible, smooth interior | ⚠️ Acceptable for short connections only | Acceptable for the 0–6 inch connection piece between dryer and wall if a tight bend is needed. Not recommended for the full run. Clean more frequently than rigid duct. |
| Rigid metal (galvanized or aluminum) Stiff, smooth interior, solid sections | ✅ Correct — lowest lint accumulation, most efficient airflow | The correct duct for dryer exhaust. Smooth interior does not trap lint the way corrugated surfaces do. Easier to clean. If your installation does not use this, upgrade it. |
How to Clean the Vent Duct Yourself
Cleaning the dryer vent duct is not complicated. It requires about 30–45 minutes and a dryer vent cleaning brush kit, which costs $15–30 at any hardware store. The kit consists of a flexible rod that extends in segments and a brush head designed for duct diameter. Here is how to do it:
- Unplug the dryer. For gas dryers, also turn off the gas supply at the shutoff valve behind or beside the unit. Do not skip this — you are moving the appliance and disconnecting duct connections.
- Pull the dryer away from the wall. You need access to the duct connection at the back. Have someone help — dryers are heavy and the gas line or power cord will limit how far you can move it.
- Disconnect the duct from the back of the dryer. It is usually held on by a clamp or by friction. Set the duct aside.
- Go outside and remove the exterior vent cap cover. Most twist off or have two screws. This gives you access from the outside end of the duct.
- Insert the brush kit from the exterior end and work it toward the interior, adding rod segments as you go. Rotate the brush as you push it through — the rotation is what dislodges the lint from the duct walls. Pull the lint out as it accumulates at the exterior end.
- Vacuum the interior end of the duct — the opening at the back of the dryer — with a vacuum and narrow attachment. Get the lint that fell during brushing.
- Vacuum inside the dryer where the duct connected. Lint accumulates here too.
- Reconnect the duct and push the dryer back into position. Do not crush the duct against the wall — leave at least 4 inches of clearance.
- Run the dryer on air-only (no heat) for 5–10 minutes and go outside to verify the vent flap is opening and you can feel strong airflow. If airflow feels weak, there may be a section of the duct you did not reach or a restriction elsewhere.
When you cannot reach the full length of the duct
If your duct runs more than 15–20 feet, or has multiple 90-degree bends, the brush kit may not reach the full run effectively. In this case, call a professional. A dryer vent cleaning service uses longer, power-driven brush systems and sometimes compressed air to clear long or complex duct runs. The cost is typically $80–150 and is worth every dollar for a duct you cannot adequately clean yourself.
Daily and Monthly Habits That Prevent Dryer Fires
- ✓Before every load: Clean the lint screen completely. Pull it out, remove all lint, check that the screen is not damaged or clogged with softener residue.
- ✓Every month: Vacuum the lint trap housing below and around the screen with a narrow vacuum attachment.
- ✓Every 3 months: Go outside while the dryer is running and verify the exterior vent flap is open with good airflow.
- ✓Every 6–12 months: Clean the full vent duct — more frequently with larger households, pets, or heavy laundry volume.
- ✓Always: Stay home when the dryer is running. Never run the dryer while sleeping or away from the house. This is the habit that converts a dryer fire from a contained incident (you notice it early) to a structure fire (it burns for 20 minutes before you know).
- ✗Never: Run the dryer with a clogged or restricted vent. If you notice warning signs, stop using it until the duct is cleaned.
- ✗Never: Use the dryer if it is making unusual sounds — grinding, squealing, thumping beyond normal tumbling. Mechanical failures in combination with lint buildup create ideal fire conditions.
Things You Should Never Put in a Dryer
Some items create fire risk inside the drum itself, not from vent problems. These are the items that have started fires even in dryers with clean, properly maintained vents:
- Anything with residual cooking oil, gasoline, motor oil, paint thinner, or other flammable substances. The heat of the dryer can ignite these residues even after a full wash cycle. Wash items with chemical or fuel contamination multiple times before drying, or line-dry them. This includes rags used for cleaning bicycles, grills, or garage floors.
- Foam rubber or sponge items. Foam can trap heat and ignite. Line-dry foam items.
- Rubber-backed rugs or mats. Rubber degrades in dryer heat and can ignite. Check the care label — if it says tumble dry, use low heat.
- Items with plastic components, even partially. Plastic melts, can ignite, and can damage the drum.
- Fiberglass curtains or any fiberglass-containing fabric. The fine glass particles released in the heat can contaminate subsequent loads and cause skin and respiratory irritation.

One more thing: what is sitting on or near your dryer right now
Walk to your laundry room and look at what is on or immediately next to your dryer. Fabric softener sheets, laundry pods, detergent bottles, a pile of clothes waiting to be washed. These are common. They are also flammable items immediately adjacent to a heat-producing appliance with the potential to overheat. Keep the top of the dryer and the surrounding area clear of anything combustible. A dryer that catches fire with a pile of laundry sitting on top of it is a much bigger problem than a dryer that catches fire on its own.
Dryer fires are among the most preventable fires in residential settings. The maintenance is inexpensive, the warning signs are clear if you know to look for them, and the habits involved are simple. The reason they keep happening is that the vent duct is invisible, the warning signs are easily rationalized, and most people have never been told that “clean the lint trap” is only part of the answer. Now you know the rest.


Comments 0
No comments yet. Be the first to share your thoughts!
Leave a Comment