High-Rise Firefighting: Standpipe Operations, Stack Effect & Floor-by-Floor Tactics
High-rise firefighting is a distinct discipline that requires completely different tactics from residential and low-rise commercial operations. The challenges are unique: long hose stretches from standpipe outlets, stack effect that moves smoke to uninvolved floors, elevator dependency, stair pressurization, and the operational reality that you cannot easily retreat to street level if conditions deteriorate. This guide covers the core concepts every firefighter assigned to a high-rise response needs to understand.
Jump to:What defines a high-rise · Stack effect · Standpipe operations · Standpipe pressure management · Attack operations · Evacuation strategy · Elevator use · Lobby control · Command considerations · FAQ
What Defines a High-Rise Building
NFPA 1 and the International Building Code define a high-rise as a building with an occupied floor more than 75 feet above the lowest level of fire department vehicle access. This threshold is significant: it represents the maximum effective reach of aerial ladder operations. Above 75 feet, ladder rescue from the exterior is no longer an option — all rescue must be accomplished through interior means using stairs and standpipe-supported attack.
High-rises come in multiple construction types, occupancies, and suppression system configurations. The most common in U.S. urban areas:
- Type I (fire-resistive) concrete and steel construction with Class I standpipe systems
- Residential (apartment, hotel) vs. commercial (office) occupancy changes the life safety picture significantly
- Pre-1975 buildings may not have full sprinkler systems; post-1975 NFPA 13 sprinkled buildings represent a different operational profile
Stack Effect: The Invisible Smoke Mover
Stack effect is the movement of air and smoke through a high-rise building driven by temperature and pressure differences between the interior and exterior. It is one of the most important concepts in high-rise fire operations because it determines where smoke goes — which is often not where firefighters expect.
Normal stack effect (winter/cold weather)
When exterior temperature is significantly colder than interior building temperature (typical in winter), warm interior air rises and exits through upper building openings (elevator shafts, stairwells, mechanical shafts). Cold exterior air is drawn in at lower levels to replace it. This creates an upward air current in all vertical shafts.
Fire implication: In winter stack effect, smoke from a lower-floor fire rises through elevator shafts and stairwells to upper floors, potentially contaminating floors well above the fire floor. Occupants on upper floors may encounter smoke before those on intermediate floors.
Reverse stack effect (summer/hot weather)
When exterior temperature exceeds interior building temperature (air-conditioned building in summer), the stack effect reverses. Hot exterior air rises on the outside and presses into the building at upper levels. Interior air descends through vertical shafts and exits at lower levels.
Fire implication: In reverse stack effect, smoke from an upper-floor fire may be pushed downward through shafts. A fire on the 20th floor in reverse stack effect can contaminate floors below.
Operational response to stack effect
- Identify which floors are showing smoke and which are clear to understand the stack effect direction
- Close stairwell doors to limit vertical smoke travel (pressurized stairwells resist this but are not perfect)
- Communicate stack effect observations to command early so evacuation priorities can be adjusted
- In winter conditions, expect smoke on floors above the fire floor in addition to the fire floor itself
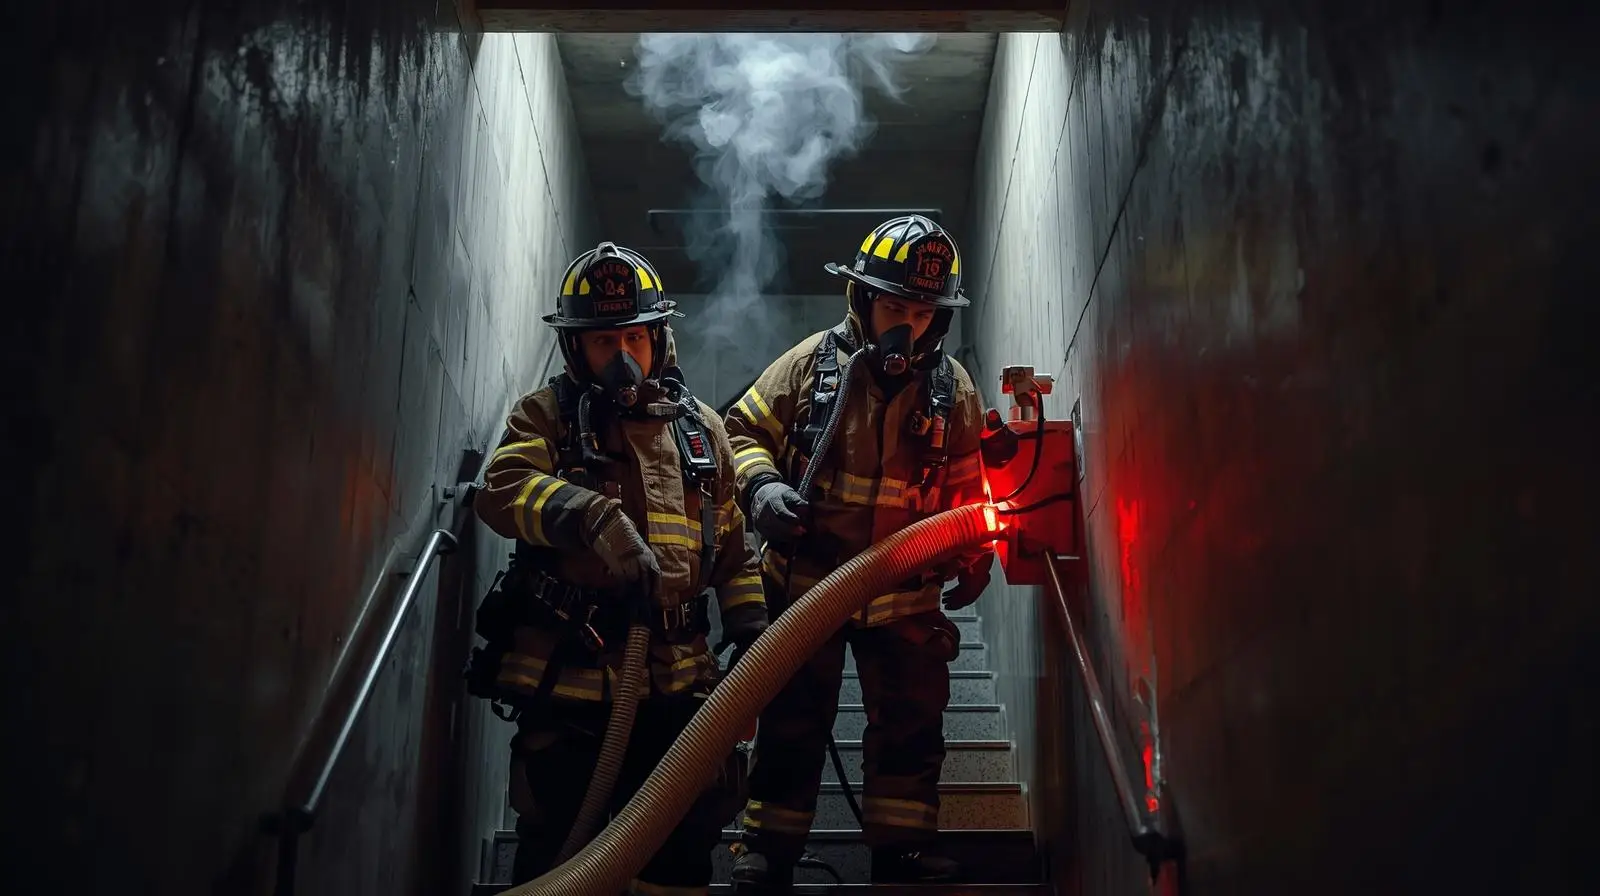
Standpipe Operations: The Foundation of High-Rise Attack
In a high-rise fire, the standpipe system is your water supply. There is no stretching a supply line from the street. Understanding how standpipe systems work and how to connect to them correctly is fundamental to high-rise firefighting.
Standpipe system classes
| Class | Hose connections | Intended user | Notes |
|---|---|---|---|
| Class I | 2½-inch connections only | Fire department only | Most common in modern high-rises; requires fire dept. hose equipment |
| Class II | 1½-inch with rack and hose | Building occupants | Low-pressure, limited flow; not for structural firefighting |
| Class III | Both 2½-inch and 1½-inch | FD and occupants | Combined system; FD uses 2½-inch connections only |
Standpipe connection and hose deployment
- Connect on the floor below the fire. Connecting at the outlet on the fire floor means advancing hose through a potentially untenable area to reach the standpipe. The floor below gives you a protected staging area to charge the line before advancing.
- Remove the pre-connected 1½-inch hose if present. Class II hose racks in the stairwell are for occupant use. Remove this hose and use your own department-issue 2½-inch attack hose with appropriate nozzle.
- Use 2½-inch hose for attack. 2½-inch provides the flow rate needed for high-rise operations. 1¾-inch may be inadequate for flow requirement at the operating pressures available from the standpipe.
- Connect a pressure-reducing valve (PRV) if needed. Many standpipe outlets have built-in pressure-reducing valves (required by code on floors above the lowest) that limit outlet pressure. If the PRV is set too low, your attack line will not flow adequately. Carry a replacement PRV or PRV adjustment tool.
- Stretch to the door. From the standpipe connection on the floor below, stretch through the stairwell door and to the door of the fire apartment or office suite. Charge the line, confirm flow and pressure, then open the floor door and advance.
Standpipe Pressure Management
Pressure management is the most technically demanding aspect of standpipe operations. The pressure available at the outlet changes based on the floor, the system design, and how many lines are flowing simultaneously.
Pressure-reducing valves (PRVs)
Modern standpipe systems have PRVs at each hose outlet to limit pressure to a safe range for occupant-operated hoses (typically 100 PSI maximum). For fire department operations, these limits are often too low to supply adequate flow through 2½-inch attack lines. Your goal at the outlet:
- Target residual pressure of 100 PSI at the standpipe outlet with water flowing
- With a 2½-inch smooth bore tip (1⅛-inch), this delivers approximately 250 GPM at 50 PSI nozzle pressure with a short hose lay
- If the PRV limits outlet pressure below 100 PSI, open the PRV adjustment cap (if accessible) or replace with a department-issued PRV set to the correct pressure
Pressure calculator
Use the PDP Calculator to determine required standpipe outlet pressure for your specific hose configuration and target floor. Add 5 PSI per floor above grade for elevation loss. A fire on floor 30 requires approximately 150 PSI more than a fire at grade level just to overcome elevation pressure loss, before accounting for friction loss in the hose.
Calculate before you connect. Know what pressure you need at the outlet before you charge the line. An under-pressured line in a high-rise fire means inadequate flow at the nozzle when you need it most. Carry a 2½-inch gate valve and a pressure gauge on your standpipe pack.
Attack Operations: Floor by Floor
High-rise attack uses a layered approach with specific floor assignments:
| Floor designation | Assignment |
|---|---|
| Fire floor | Attack company: fire suppression, primary search, door control |
| Floor below fire | Standpipe connection and staging; backup company ready; evacuation support for lower floors |
| Floor above fire | Search for extension; life safety check; confirm fire has not extended vertically |
| Two floors above fire | Additional resource staging; search if stack effect or extension is indicated |
Door control on the fire floor
In a high-rise apartment fire, the apartment door is your primary separation between the fire environment and the stairwells and corridors. Every time an apartment door is left open, smoke travels freely into the corridor and stairwells used for evacuation. Door control discipline on a high-rise fire is critical:
- Keep stairwell doors closed at all times except during crew transitions
- Keep the fire apartment door controlled (partially open with a door wedge, not fully open) until the attack line is ready to advance
- After initial knockdown, close the fire apartment door to reduce smoke spread during overhaul
Evacuation Strategy: Defend in Place vs. Evacuate
Full building evacuation of a high-rise during a working fire is almost always impractical and potentially dangerous. The standard high-rise evacuation strategy is selective evacuation:
- Evacuate the fire floor immediately. All occupants on the fire floor must be moved to a safe area.
- Evacuate the floor above immediately. Fire and smoke travel upward; the floor above has the next-highest immediate life safety risk.
- Shelter in place on other floors. High-rise Type I buildings are designed for compartmentalized fire containment. Occupants in uninvolved areas are often safer sheltering in place in their own units than evacuating through potentially smoke-contaminated corridors and stairwells.
- Communicate floor status to occupants via building PA. Occupants need specific instructions ("stay in your unit, close your door, do not use elevators") not just a general alarm.
Elevator Use in High-Rise Operations
Elevators are essential for personnel and equipment movement in high-rise operations — climbing 30 floors of stairs with equipment before fighting a fire is not operationally viable. But elevator use requires specific precautions:
- Never use elevators on or above the fire floor. Elevator shafts fill with smoke. Doors may open on the fire floor regardless of the floor selected. An elevator car on the fire floor with personnel inside is a deadly trap.
- Use Phase II elevator control. Phase II allows the fire department to operate elevators manually with a key override, bypassing normal service and ensuring the car goes directly to the selected floor without intermediate stops.
- Stop elevators two floors below the fire floor. Send firefighters to two floors below the fire, then walk up the final two floors via stairwell. This provides a safety buffer if the elevator opens unexpectedly on the fire floor.
- Designate a dedicated firefighter elevator. Reserve one elevator for fire department use only. Do not share with evacuating occupants.
Lobby Control
Lobby control is a designated position that manages all building access and equipment staging for the high-rise operation. It is the logistics hub of the incident:
- Controls elevator use and tracks which floors are assigned
- Manages personnel accountability — knows who is in the building, on which floor, and for how long
- Coordinates equipment movement to staging areas
- Manages building systems: HVAC, pressurization, fire alarm, and communications relay
- Controls civilian access: keeps evacuating occupants away from fire department elevator and maintains clear lobby for incoming resources
Command Considerations for High-Rise Incidents
High-rise incidents typically require a more complex command structure than typical residential fires. Key command positions in a high-rise operation:
- Incident Command — exterior or lobby level, overall incident management
- Operations Section — manages all tactical operations; may be floor-level or lobby-level
- Lobby Control — building logistics and personnel accountability
- Staging — two floors below fire floor; manages company assignments and equipment
- Base — exterior staging for incoming resources; apparatus positioning
- RIT (Rapid Intervention Team) — staged and ready on the staging floor; fully equipped for firefighter rescue
Frequently Asked Questions
What is stack effect in high-rise firefighting?
Stack effect is the movement of air and smoke through a building driven by temperature differences between interior and exterior air. In cold weather, warm interior air rises and exits at upper floors, pulling cold air in at lower levels and carrying smoke from lower-floor fires upward through elevator shafts and stairwells to upper floors. In hot weather, the effect reverses.
Why do you connect standpipe hose one floor below the fire?
Connecting on the floor below the fire provides a protected staging area to charge and test the line before advancing into the fire floor environment. Connecting on the fire floor itself requires moving through potentially untenable conditions to reach the standpipe outlet, and places personnel in the fire environment before the line is ready to flow.
What pressure should you have at a standpipe outlet?
Target 100 PSI residual pressure at the outlet with water flowing. This provides adequate pressure for 2½-inch hose operations after accounting for friction loss and nozzle pressure. Many standpipe PRVs limit pressure below this target and must be adjusted or replaced. Use the PDP Calculator to determine required outlet pressure for your specific floor and hose configuration.
Should building occupants evacuate during a high-rise fire?
Not necessarily. Full building evacuation of a high-rise is impractical and can be dangerous. Standard practice is selective evacuation of the fire floor and the floor above, with shelter-in-place for other floors. Occupants should close their apartment doors (this significantly limits smoke spread) and await instructions via the building's PA system.
Comments 0
No comments yet. Be the first to share your thoughts!
Leave a Comment