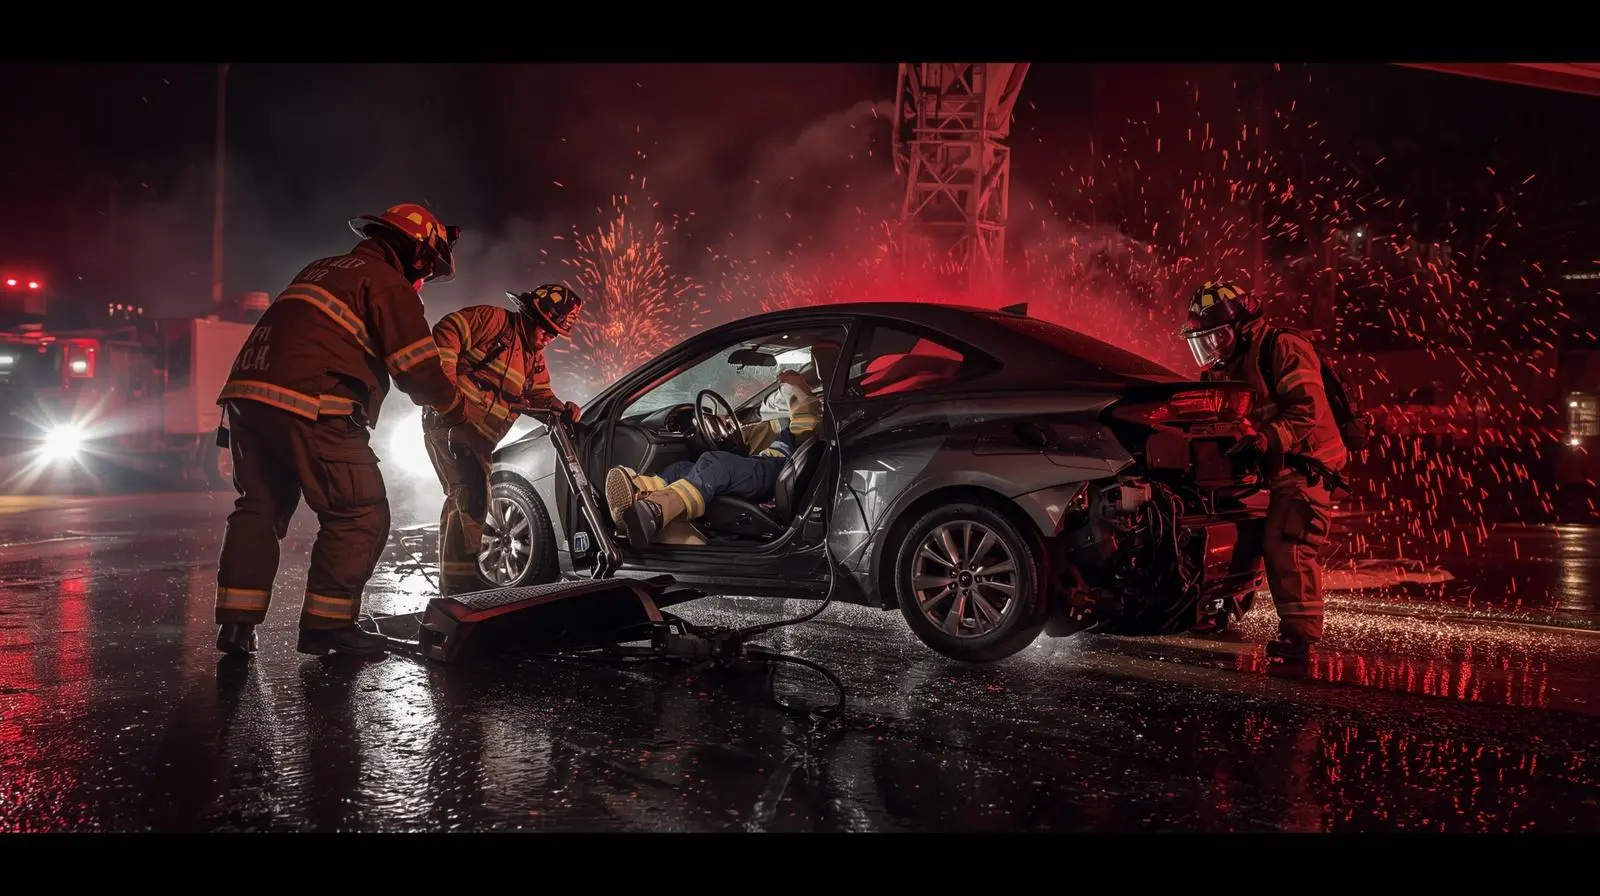

Vehicle Extrication Basics: Phases, Tools, and Safe Patient Removal for Firefighters
Vehicle extrication is a core fire service skill. Every firefighter who responds to motor vehicle accidents needs a working knowledge of the extrication process, the tools involved, vehicle anatomy relevant to rescue, and how to safely hand off a packaged patient to EMS. This guide covers the seven phases of vehicle extrication, the tools used at each phase, and the modern vehicle hazards that have changed how rescue is done.
Jump to:Scene size-up and hazard control · Vehicle stabilization · Initial access · Medical care before extrication · Disentanglement · Patient removal · Transfer to EMS · Tools overview · Modern vehicle hazards · FAQ
Note: Vehicle extrication requires formal training (NFPA 1006) and hands-on practice with actual rescue tools. This guide provides foundational knowledge — it does not replace your department's extrication training program or your technician-level certification.
Phase 1: Scene Size-Up and Hazard Control
Before any firefighter approaches a crashed vehicle, the scene must be assessed for hazards. Rushing in without hazard control has killed rescuers.
Traffic hazard: Establish a safe work zone with cones, flares (if no fuel leaks), and apparatus positioned as a barrier. The approach lane and escape route for EMS must remain clear.
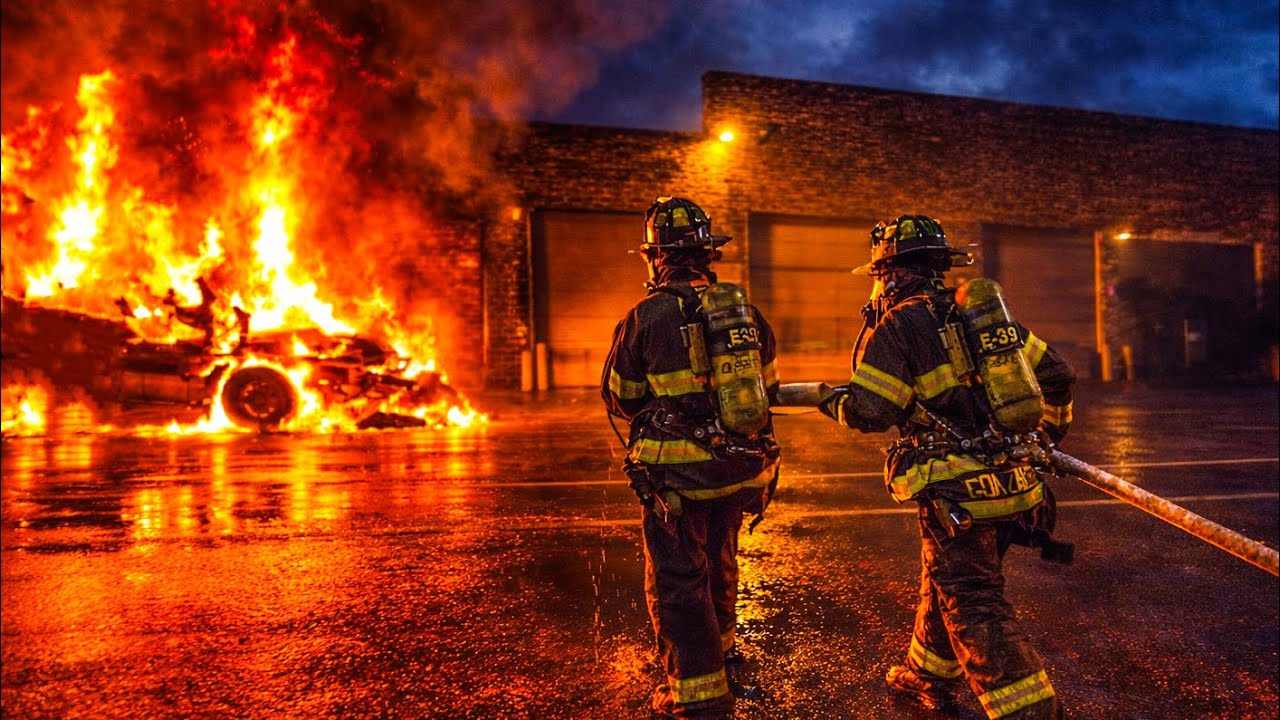
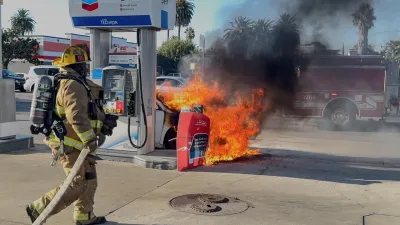
Fuel and fire hazard: Smell for fuel before cutting any electrical lines. Position a charged dry chemical or CO2 extinguisher at the vehicle before extrication begins. Know the difference between fuel fire (suppress and extricate) and post-collision fire (extrication is now an emergency).
Electrical hazard: If power lines are involved, keep all personnel back until the utility company verifies power is off. A live line on a vehicle makes every metal surface a potential electrocution hazard. No approach until power is confirmed off.
Vehicle position hazard: Is the vehicle stable? Upright, on its side, on its roof? Is it at risk of rolling, sliding, or falling? Stabilization must happen before any crew is under or inside the vehicle.
Phase 2: Vehicle Stabilization
An unstable vehicle can shift, roll, or fall during extrication — injuring rescuers and worsening patient injuries. Stabilization must be completed before any rescuer enters the vehicle.
Upright vehicle: Cribbing under the rocker panels at each corner, step chocks under the frame rails. Deflate tires if the vehicle is at risk of settling. Do NOT rely on the parking brake alone.
Vehicle on its side: Struts or cribbing on the underside to prevent rolling. Rope or chain from the frame to a fixed anchor point (apparatus, anchor strap) to prevent further roll. This is a more complex stabilization requiring trained rescuers.
Vehicle on its roof: Cribbing at each corner of the roof (A-pillar and D-pillar). If the roof is crushed or deformed, additional step chocks under the vehicle body. Personnel access through windows requires roof stabilization to be fully complete first.
Key cribbing principle: Box cribbing absorbs load from multiple directions. Always place cribbing in pyramid layers with cross-members for maximum stability. Single-layer cribbing under load can collapse.
Phase 3: Initial Access
Initial access provides a path to the patient for medical assessment before any major extrication begins.
Try before you pry: Always check if doors open normally before using tools. A significant number of crash victims can be accessed through existing openings. This saves time and patient trauma.
Window punch or spring-loaded tool: Tempered glass (side and rear windows) can be broken quickly with a center punch at the lower corner. Safety glass breaks into small, relatively safe pieces. Laminated windshield glass requires a different approach — it does not shatter cleanly.
Initial access goal: Get a rescuer to the patient for c-spine protection, airway assessment, and medical stabilization. This happens BEFORE major extrication on a stable patient.
Phase 4: Medical Care Before Full Extrication
Once initial access is established, medical care begins before the vehicle is cut apart. Protect the patient during extrication:
- Manual c-spine stabilization: A rescuer maintains inline cervical stabilization until a collar is applied and the patient is fully packaged. Movement during cutting and spreading can worsen spinal injuries without maintained spinal protection.
- Blanket protection: Cover the patient with a rescue blanket or heavy tarp before any cutting begins. Metal shards, glass particles, and hydraulic fluid are hazards during extrication.
- Eye and airway protection: The patient's eyes and airway must be covered and protected during glass removal and cutting operations.
- Monitor vital signs continuously: Patient condition can deteriorate during the extrication process. If condition worsens significantly, reassess whether a rapid extraction is needed over a controlled extrication.
Controlled vs. rapid extraction: Most extrications use a controlled approach to minimize further injury. If the patient has a compromised airway that cannot be managed in the vehicle, active cardiac arrest, or deteriorating shock with no immediate improvement, rapid extraction (immediate removal with minimal packaging) may be the appropriate choice. This is a medical decision made in coordination with your EMS personnel.
Phase 5: Disentanglement
Disentanglement removes the vehicle components that are trapping the patient. This is the phase that requires hydraulic rescue tools and the most coordination between rescue and medical crews.
Common disentanglement operations
- Door removal: Necker cut (top hinge area) + rocker panel cut at lower hinge area, then spread to force the door off. Most common first operation in side-impact or frontal crashes.
- Roof removal/flap: Cut all four pillars (A, B, C, D) and remove or fold back the roof to create a working platform and clear vertical access to the patient. Used when the patient needs to be lifted out vertically.
- Dash displacement: In severe frontal impacts, the dash intrudes into the footwell, pinning the patient's legs. Relief cuts to the A-pillar + cribbing + hydraulic ram or spreader pushes the dash forward, relieving leg entrapment. This is one of the most technically demanding extrication operations.
- Seat displacement: Reclining the seat (if manual controls allow) or cutting seat tracks to move the seat away from an intrusion zone. Used in combination with other operations.
Pillar designation
| Pillar | Location | Notes |
|---|---|---|
| A-pillar | Front of the vehicle, sides of the windshield | Contains airbag inflators in many modern vehicles — cut carefully |
| B-pillar | Between front and rear doors | Often reinforced with boron steel in modern vehicles — may require multiple cut attempts |
| C-pillar | Behind rear doors (4-door vehicles) | Varies by body style |
| D-pillar | Rear corners (SUVs, wagons) | Not present in all vehicles |
Phase 6: Patient Removal
Patient removal takes the fully packaged patient out of the vehicle and onto the ambulance stretcher. The removal method depends on the patient's injuries and the space created by disentanglement:
- Long board (traditional): Slide the board in from the side or behind the patient and transfer. Requires spinal motion restriction throughout.
- Kendrick Extrication Device (KED): A semi-rigid vest that stabilizes the torso, head, and neck for a seated patient removal. Used when the patient must exit through the door opening in a seated position.
- Vertical lift (roof removed): After roof removal, the patient can be lifted directly upward onto a backboard or vacuum mattress positioned on the roof opening. Often the fastest and safest removal method when the roof is off.
Phase 7: Transfer to EMS
Transfer moves the packaged patient from the rescue crew to EMS for transport. This handoff should include:
- Mechanism of injury (speed estimate, impact direction, airbag deployment)
- Initial patient presentation (GCS, vital signs, obvious injuries)
- Time of incident and time of patient contact
- Treatments provided during extrication (airway management, tourniquet, hemorrhage control)
- Any patient deterioration during the extrication
Hydraulic Rescue Tools Overview
| Tool | Primary function | Typical use in extrication |
|---|---|---|
| Spreader (Jaws) | Opens a gap between two surfaces | Forcing doors, creating gaps for cutter blades, opening crushed areas |
| Cutter | Cuts through metal members | Pillar cuts, door hinge cuts, roof removal |
| Combination tool | Both spreading and cutting | Single-tool operations; smaller vehicles |
| Ram (extension ram) | Extends to push objects apart | Dash displacement, pushing steering column, relieving door hinges |
| Reciprocating saw | Cuts through materials the hydraulic cutter cannot | Windshield frame, soft material, areas too tight for hydraulic cutter blades |
| Glass management tools | Breaking and removing glass | Center punch (tempered glass), glass saw, glass rake |
Modern Vehicle Hazards That Changed Extrication
Vehicles built in the last 15 years have introduced significant hazards that were not present in older vehicle rescues:
High-strength and ultra-high-strength steel (UHSS/AHSS)
Modern vehicle body construction uses boron steel and other advanced high-strength alloys, particularly in the B-pillar and structural members. These materials are 3–4× stronger than conventional steel and can stop hydraulic cutters mid-cut, shatter blades, or cause the tool to deflect unpredictably. Recognition: B-pillars in modern vehicles that resist a cutter that would cut an older pillar easily. Countermeasure: relief cuts above and below the target area, multiple bite angles, or using a combination of cutter and spreader.
Hybrid and electric vehicles (HEV/BEV)
Hybrid and electric vehicles carry high-voltage battery systems (300–800+ volts) that cannot be isolated simply by disconnecting the 12-volt accessory battery. High-voltage components are typically orange in color. Rescuers must:
- Identify the vehicle type on arrival (HEV/BEV badging, charge port)
- Disable the 12-volt system (cuts power to some HV systems in many vehicles)
- Avoid cutting through orange cables or HV battery boxes
- Know the vehicle-specific emergency response guide (available at electricvehiclesafety.org)
- Be aware of battery fire risk hours after the collision event
Side curtain airbags and airbag inflators
Side curtain airbags run the full length of the roofline inside the headliner. If an undeployed airbag inflator is cut during A-pillar or roof operations, it can deploy with significant force. Inflator cylinders store compressed gas at high pressure. Recognition: look for yellow airbag wiring before cutting any pillar. Cut below the airbag module, not through it.
Aluminum body construction
Some modern vehicles (certain Audi, Jaguar, Ford F-150, Tesla) use aluminum body panels and structural members. Aluminum behaves very differently from steel under hydraulic tools: it tends to shatter rather than bend, and fragments can be sharp and unpredictable. The hydraulic cutter blade contact angle must be adjusted for aluminum.
Frequently Asked Questions
What is vehicle extrication in firefighting?
Vehicle extrication is the process of safely removing a patient who is trapped in a crashed vehicle. It uses a combination of scene safety, vehicle stabilization, hydraulic rescue tools, and coordinated medical care to free and package the patient with the minimum additional injury, then transfer them to EMS for transport.
What tools do firefighters use for car extrication?
The primary tools are hydraulic rescue tools: spreader (jaws of life), cutter, combination tool, and ram. These are supplemented by hand tools (glass punch, glass rake), reciprocating saw, cribbing, and stabilization equipment. The specific tools used depend on the crash configuration and the entrapment pattern.
How long does vehicle extrication take?
Simple extractions (door forced open, patient walkout) can be completed in under 5 minutes. Complex extractions involving dash displacement, roof removal, and severe entrapment can take 30–60+ minutes. The patient's medical condition influences the pace: a rapidly deteriorating patient may require a faster, less controlled removal.
What is the difference between controlled and rapid extrication?
Controlled extrication prioritizes minimizing additional patient injury: full spinal protection, careful packaging, and systematic vehicle disassembly. Rapid extrication removes the patient quickly with basic spinal protection when medical necessity outweighs the risk of additional injury — typically reserved for compromised airway, cardiac arrest, or critical deterioration that cannot be managed in the vehicle.

Comments 0
No comments yet. Be the first to share your thoughts!
Leave a Comment